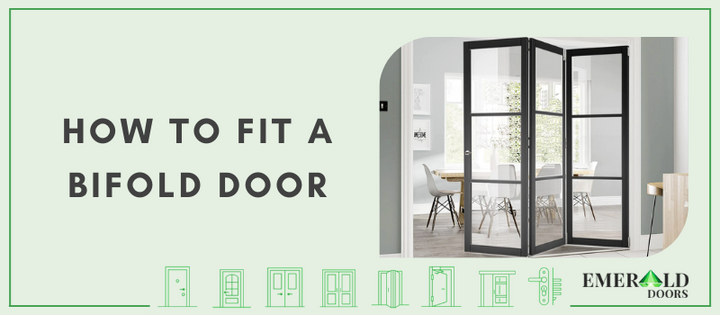
How to Fit a Bifold Door in 8 Simple Steps
Bifold doors, also known as folding doors, are a stylish and versatile choice for modern homes. They let in plenty of natural light and create a smooth connection between indoor and outdoor spaces, making rooms feel bright and open. Because of this, many homeowners love bifold doors but often find the installation tricky since it requires careful handling and precise alignment. However, with the right tools, clear instructions, and a bit of patience, you can fit bifold doors easily and enjoy a smooth, professional-looking finish.
In this article, we’ll guide you through the entire process of fitting a bifold door step by step. You’ll learn how to prepare the space, gather the right tools, install the frame and door panels, and make final adjustments for smooth movement.
Required Tools for Fitting Bi-Fold Doors

- Measuring tape
- Pencil
- Level
- Drill and drill bits
- Screwdriver
- Saw (if trimming is needed)
- Screws
- Rubber mallet
- Spirit level
- Safety goggles
Step 1: Measure the Door

Start by carefully measuring the height and width of your door opening with a tape measure. Check the width at the top, middle, and bottom of the frame, and measure the height on both sides. Make sure the floor and walls are level, as uneven areas can affect how the door hangs. Always record the smallest measurements, as they show the most accurate space for fitting your bifold door properly.
Step 2: Installing the Track

Next, attach the top track to the door frame using screws. Hold the track firmly in place and use a spirit level to make sure it sits perfectly straight. Mark the screw positions with a pencil, then drill small pilot holes at each mark to prevent cracking. Once your pilot holes are ready, lift the track back into place and fix it firmly with screws, checking the level one final time before tightening completely.
Step 3: Install the Bottom Bracket

After securing the top track, it’s time to install the bottom bracket on the floor at the edge of the opening. This bracket keeps the door steady while it opens and closes. Place it directly below the top track and mark the screw holes with a pencil. Drill small pilot holes, then fix the bracket firmly in place. Make sure it’s perfectly aligned with the top track, as this helps the door move smoothly without jamming or sticking.
Step 4: Fit the Hardware to the Door

With the track and bracket in place, it's time to add the hardware to your door panels. Begin by fixing the pivot pins to the top and bottom corners of the first panel; these will fit into the track and bracket you've already installed. Next, connect the hinges between each door panel if they aren’t already attached. Then, slide the roller wheels into the top track for the remaining panels. Follow the manufacturer’s guide for correct placement and tighten the screws securely.
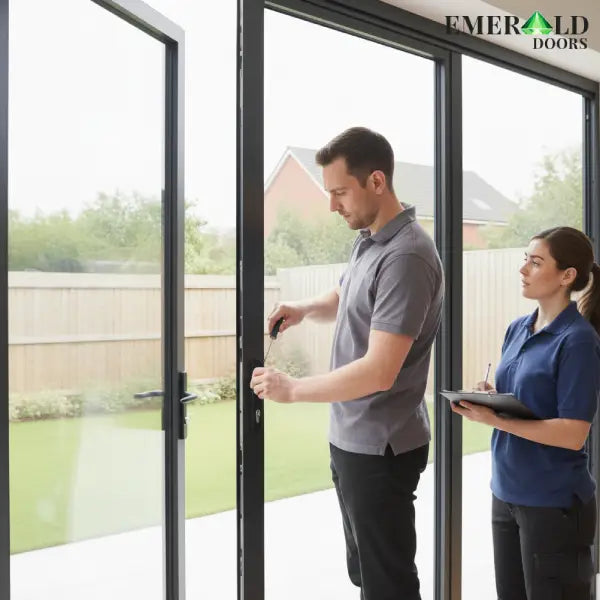
Step 5: Hang the Door

Next, carefully lift the door panels and place the top pivot pin into the track first. Push it gently into the slot until it fits securely. Then, lower the bottom pivot pin into the bottom bracket. Once in place, the door should stand upright and move smoothly along the track. Make sure it folds and slides easily without resistance. It’s best to have someone help you during this step to keep the door steady and avoid any damage while fitting it.
Step 6: Adjusting the Alignment

Once the door is hung, check if it opens and closes smoothly. If it rubs or doesn’t line up, adjust the pivots and hinges slightly. Look for small adjustment screws on the top and bottom pivot pins. Turn these screws slightly to move the door up, down, left, or right. Keep adjusting until the door hangs straight and the panels line up evenly.
Step 7: Install Door Knobs or Handles
Attach the door handles or knobs at a comfortable height for easy use. Mark the exact spot where you want to place them; most homeowners place them around waist height. Drill a hole through the door at your mark, using the size mentioned in the handle’s instructions. Insert the handle from one side and secure it with screws from the other. Tighten the screws firmly but gently to avoid damaging or cracking the door surface.
Step 8: Test the Door

Open and close your bifold door a few times to test its movement. The door should glide smoothly without sticking or scraping. Check that all panels fold together neatly and that the door sits flush when closed. If you notice any problems, make small adjustments until everything works perfectly.
Key Takeaways
Fitting a bifold door may seem tricky at first, but with the right tools and clear steps, it becomes straightforward. From measuring the space to installing the track, brackets, and hardware, each step ensures your door fits perfectly and works effortlessly. Take your time and check the alignment carefully to achieve a clean, professional finish.
At Emerald Doors, we’re here to help you find the perfect doors for your home. We offer a wide range of high-quality options, including stylish bi-fold doors, durable external doors, and elegant internal doors. Each door is designed for long-lasting performance and a stylish look.
FAQs on How to Fit Internal Bifold Doors
Here are a few frequently asked questions that can help you learn more about installing internal sliding bifold doors and make your fitting process simple, safe, and successful.
1) Can I Fit Bifold Doors Myself?
Yes, you can fit bifold doors yourself if you have basic DIY skills. Follow the manufacturer’s instructions carefully, measure the opening, prepare the frame, use the correct tools, and get a helper to lift and position the panels safely.
2) Can you Install a Bifold Door Without a Track?
Yes, you can install bifold doors without a bottom track, a top-hung system. This suits lightweight indoor doors and creates a seamless floor look. However, heavy or exterior doors need a bottom track for proper support and weather protection.
3) What Holds Bifold Doors in Place?
Bifold doors stay in place using pivot pins and a track system. The top pin slides into the overhead track, while the bottom pin fits into a floor bracket. Hinges connect the panels, and rollers help them glide smoothly.
4) Are Aluminium Bifolds Better than uPVC?
Yes, aluminium bifolds are generally better than uPVC because they're stronger, slimmer, and more durable, ideal for large openings and modern styles. However, uPVC bifolds cost less, offer better insulation, and require low maintenance, making them budget-friendly.