How to Replace a Door - 7 Simple Steps
Old doors have a tendency to break down in due course of time. They could get chipped at its ends or could have holes and abrasions due to wear and tear. It is essential to replace the doors with new ones to keep your home secure while providing a new look and feel to the entrance. Replacing a door might seem easy, but the fact is, it is not.
Leaving some uneven gaps between the walls or along the floor could be a problem. Sometimes it may take too much of your valuable time and can even lead to some cracks while fixing the door if you are not knowledgeable of the process. You just need to use the old door as a template to cut the new door and outfit it with hinges and lockset.
To make it clearer, let us understand some easy and simple steps to learn how to replace a door without too much time or fuss.
Required Tools/Materials
-
Drill
-
Circular Saw
-
Router
-
Screwdriver
-
Door Latch
-
Door Lock
-
Door Hinge
-
Tape Measure
-
Pencil
-
Safety Glasses
-
Hearing Protection
-
Slab Door
-
Hinges
-
Handles
Steps on How to Replace a Door
Table of Content
Step 1: Measure the Existing Door
Step 2: Buy a New Door and Trim it With the Measured Size
Step 3: Measure & Cut Hinge Slots
Step 5: Measure & Cut Out the Lockset Measurements
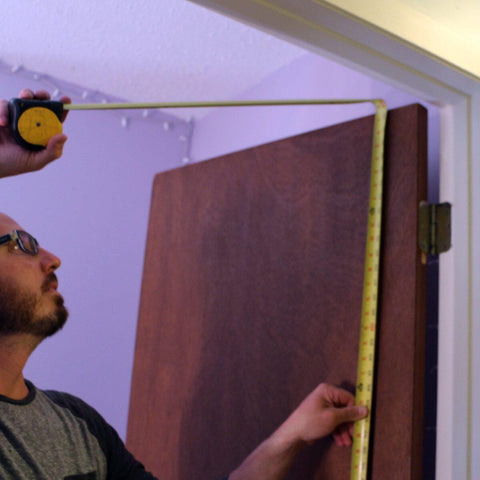
Step 1: Measure the Existing Door
Measuring your old door is very important to make sure that your new door fits properly. Note the height and width of the door and bring these measurements with you when you buy new internal doors or external doors. Doors typically come at 80 inches in height and need to be chiselled to accommodate flooring or low ceilings. Remove the pins and the hinges from the old door if it can be reused.

If you intend to use the same handle, then also remove those from the door and lift the existing door out of the doorframe.
Step 2: Buy a New Door and Trim it With the Measured Size
Old existing doors are prone to collapse inadvertently, and quite susceptible to thefts since the handles, fittings, and the locks are mostly worn out. Replace such doors with new doors but trim them to fit into the measured size. Since new doors are sturdy, robust, and secure, they make grand entrances to any home. Here is a complete door size guide.
For removing the old door, use a hammer and screwdriver to remove pins and unscrew the old hinges and lockset, especially if you plan on reusing them. Here are top ways to use the old doors effectively.
Use the old door as a template for the new door and mark the lines to trim the new door. The new door should perfectly align with the old one, or it will split during the cutting process. Use proper tools like a circular saw to get better equipped with the job. In some extreme cases, you can even mark and carefully trim the bottom of the new door to fit the existing door frame. To reuse the lockset, note how it goes together.
Step 3: Measure and Cut Hinge Slots
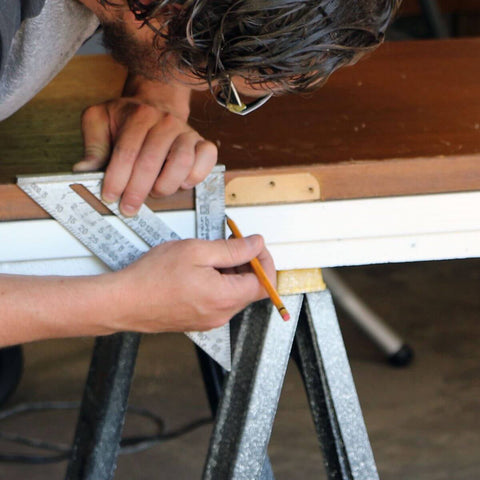
When all four sides are flushed, mark out the hinge locations on the new door and pay close attention to the gap between the hinge and the outer part of the door. Using a speed square measure the distance from the edge of the door to the edge of each hinge.

Then cut a series of grooves inside the hinge and start the unwanted material. Align each hinge inside the marks on the new door and trace the outline. Use a sharp utility knife to mark the chisel out those areas and transfer their locations to the new door.
Step 4: Install Hinges
After checking the depth of the mortise, you can screw the hinges in place. Before screwing the hinges in place, drill pilot holes into the door. Lightly tap the chisel with the hammer to chip away the waste wood and set the hinge into the mortise then immediately screw the hinge to the door.

Use a block of wood if the cut space is as deep as the hinge. Don’t forget to check that the door closes without binding and that there's proper clearance from the ground.
Step 5: Measure & Cut Out the Lockset Measurements
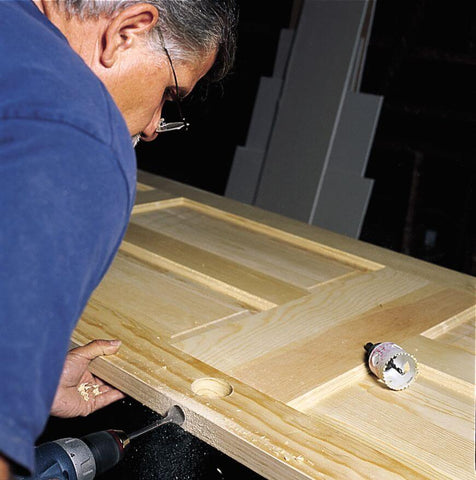
If you have planned to use the earlier lock-set, then use the measurement and the old door as a template for proper installation. Boreholes in the slab for the latch and lever with a 7/8-inch spade bit and screwed them properly with a hole-saw. Then you can install the doorknobs.

Step 6: Paint the New Door
Before installing the new door, take some time to paint the door, and after it gets dried, insert the lock-set in place as lock installation jig with the mark. Use a sharp chisel to remove the rest of the material for the latch plate mortise and install the hole saws to bore holes for the latch and lever. Lastly, paint all the bare wood with a coat of paint that matches the door.
Step 7: Hang the New Door
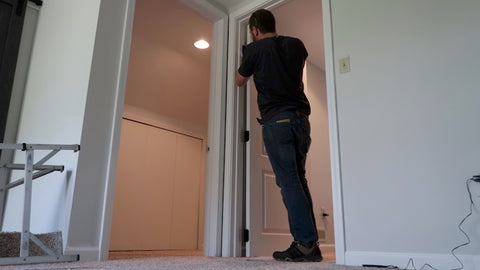
Get help from someone and hold the door so that the hinge knuckles interlock with each other. Ensure to bolt the pins in place and test the door for smooth operation. Mark the centre of each screw hole and tighten the hinges in place with screws. Set the door in place using a shim and secure the other side of the hinge to the door jamb. Then you can easily install the new door in the door frame.

After fixing the door, test the door and check if it swings smoothly, and the plate is aligned to the latches. If the door rattles when closed, slightly bend out the metal tab that's located inside of the strike plate. So, whenever a door is badly warped or damaged, you can upgrade your interior spaces by replacing hollow-core doors with a solid-core new interior, or exterior doors.
MORE RELATED ARTICLES
ABOUT THE AUTHOR: SHABANA KAUSER
Shabana Kauser is the dynamic owner of Emerald Doors, the famous door-selling company in the UK with immense knowledge and experience in working with architecture, interior design, and home decor. She continues to share tips and technical know-how of balancing interior elements, door fittings, room aesthetics, and the like. Personally, she loves coffee, always dabbling with several blends.